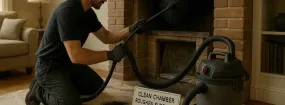
No pressure and no obligation: send your details and our team will put together an estimate for Fireplace Smoke Chamber Repair Vancouver
Not every fireplace needs a big project. Sometimes a few bricks and fresh mortar do the job; sometimes a dated surround is all that stands between you and a room you love. Searching for “fireplace smoke chamber repair” is a sensible first step toward telling those situations apart. The answers below help homeowners around Vancouver understand smoke chamber repair, set realistic expectations and decide what their fireplace actually needs.
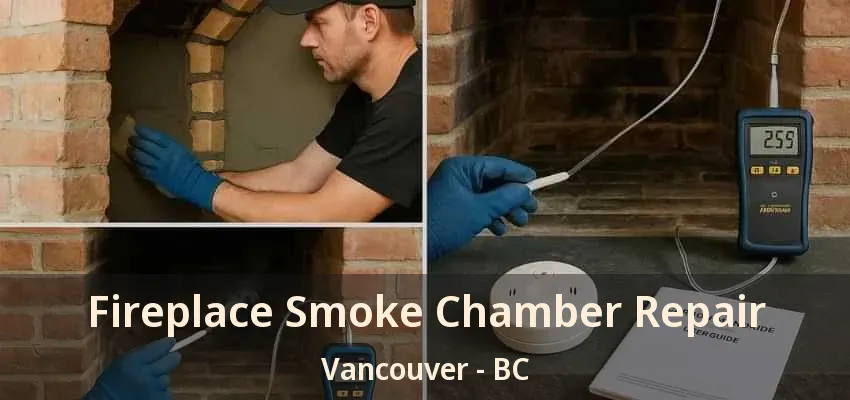
The smoke chamber is the sloped space above the damper that funnels smoke from the wide firebox into the narrower flue. Its walls should be smooth so smoke flows upward without turbulence. In many older fireplaces, the chamber was left with stepped bricks and rough mortar, and over time that mortar can erode or crack. The result can be poor draft, smoke in the room and creosote building up on rough surfaces, and gaps may let heat reach nearby framing. Because it is hidden, the smoke chamber is usually checked with a light or camera during an inspection.
Usually, yes, as long as the structure behind the visible parts is sound. A fireplace that drafts well and has a solid firebox can often be refreshed or repaired with far less disruption than a full replacement, and the room gains a working focal point again. The value depends on the condition of the masonry, the damper and the chimney, how often you plan to use it and whether the work fixes a safety issue or is mainly cosmetic. Start with an inspection, then choose between cosmetic, repair and conversion work with a clear picture of what each involves.
The most common signs are smoke drifting into the room, especially at the start of a fire, a smoky smell that lingers when the fireplace is off and bits of mortar or brick landing on the smoke shelf or in the firebox. Heavy creosote above the damper, visible with a flashlight, is another clue. An inspection report may also flag a corbelled or unparged chamber. Because the area is hidden, most problems are found with a camera during a chimney inspection. If you are researching “fireplace smoke chamber repair” after a report like that, ask for the photos or video so you can see the condition yourself.
The problems that concern us most are the ones that let heat or smoke go where they should not. Open cracks in the firebox, mortar joints washed out deep enough to catch a fingernail, a smoke chamber shedding chunks onto the smoke shelf and a damper plate rusted through all fall into that group. Cosmetic issues, like hairline crazing in a tile surround or a scuffed mantel, can be planned around your schedule. When homeowners send photos, we usually ask for three: the firebox walls, the view up past the damper and the outside of the chimney.
No, they treat different sections. The smoke chamber sits between the damper and the flue, while a chimney liner runs up the flue itself to the top of the chimney. A cracked flue tile or an unlined flue calls for relining; rough or eroded chamber walls call for parging or rebuilding the chamber. Some homes need both, and doing them together saves a second setup. An inspection with a camera shows which parts are affected. When you request smoke chamber repair quotes, check that each one says clearly which section is included, so you are comparing the same work.
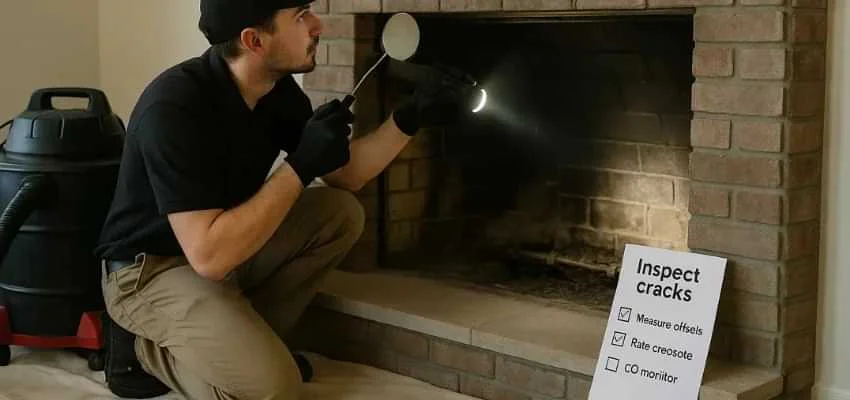
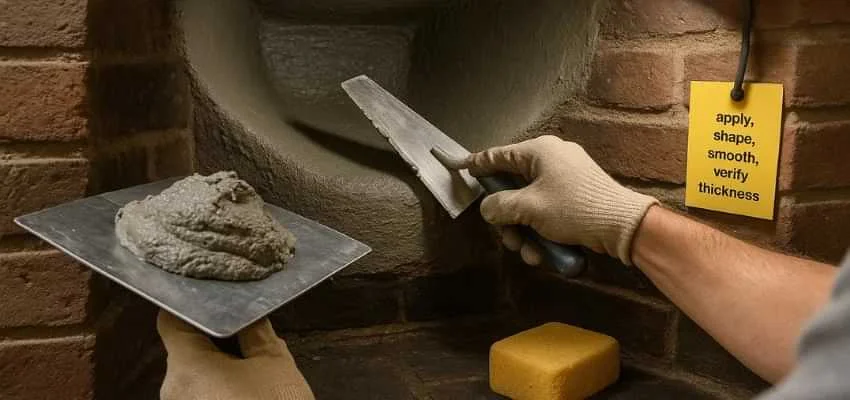
We clean first, repair second and coat last. Creosote and soot have to come off, or the new material will not bond. Loose or missing bricks in the chamber walls are reset, and open joints are filled. Then a refractory parging coat is built up until the corbelled steps disappear and the walls slope evenly toward the flue. Some systems are applied by hand, others sprayed on and smoothed; the method depends on access and the condition of the masonry. A camera pass before and after lets you see the difference, which would otherwise stay hidden above the damper.
The cost depends mostly on the scope of work, the materials and what turns up once old surfaces come off. A simple refresh with paint or a new mantel shelf costs far less than full stone refacing, a gas conversion or rebuilding a firebox. Material choice matters too: natural stone, custom millwork and specialty tile cost more than standard options. Access, the size of the fireplace and any hidden damage add time, while gas work, liners and venting add parts. A clear, itemized quote that separates repairs from finishes makes options much easier to compare.
It depends on where you live and what the work involves. Purely cosmetic changes, such as painting brick or swapping a mantel shelf, often need no permit, while gas line work, installing a new insert or fireplace, changes to the chimney or structural masonry frequently do. Rules differ from one municipality to the next, so check with your local building department or ask the contractor to confirm. A professional company should know the local requirements and tell you whether it will arrange the permit and inspection or whether that falls to you. Get that answer in writing before work begins.
Compare quotes line by line rather than by the total. Each should describe the same scope: what is removed, what is repaired, what new materials go in and who handles any gas, liner or venting work. Look for the material types, the finish details, protection and cleanup, disposal of old materials and any permit costs. Check how hidden damage would be priced if it turns up. A quote that looks much lower may simply leave out repairs another contractor included. Ask each company to explain anything vague before you decide.
If your home will be busy with visitors, it helps to know everything is in order beforehand. Book smoke chamber repair a little ahead and enjoy the season without second thoughts. Reserve a time with Chimney Sweep Vancouver in Vancouver.
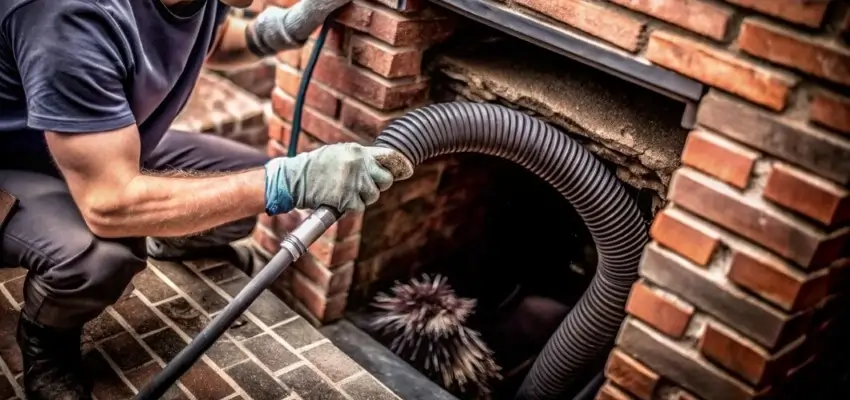
Flue last swept long ago? Chimney Cleaning in Vancouver
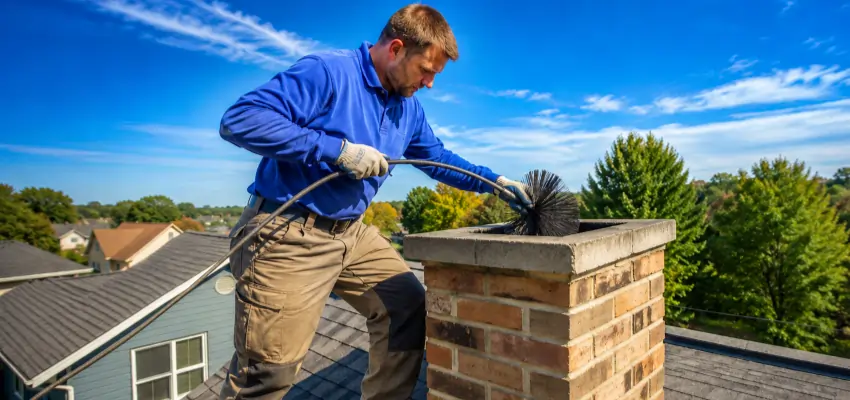
Your Vancouver fireplace, swept and checked: Chimney Sweep
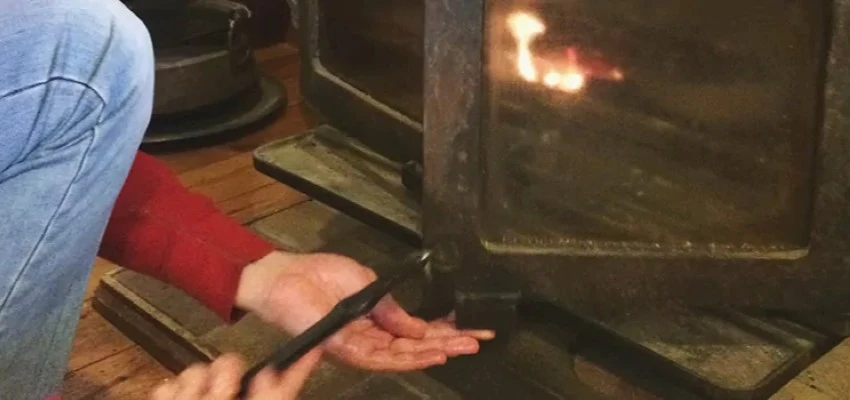
Chimney Sweep Services for fireplaces, stoves, and inserts in Vancouver
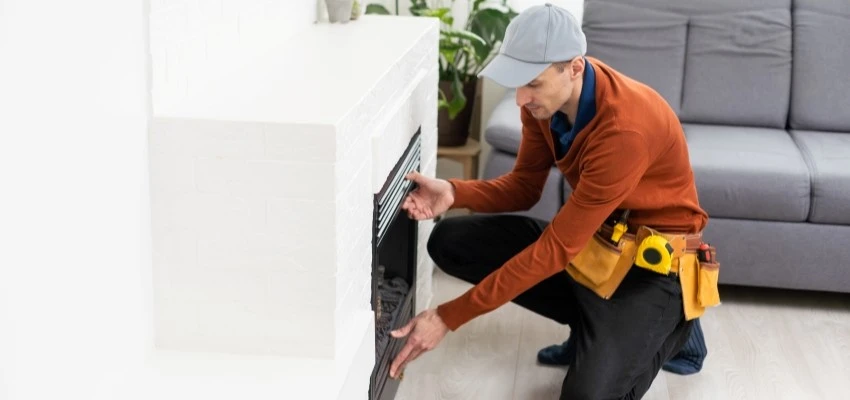
What Fireplace Experts check in your Vancouver chimney
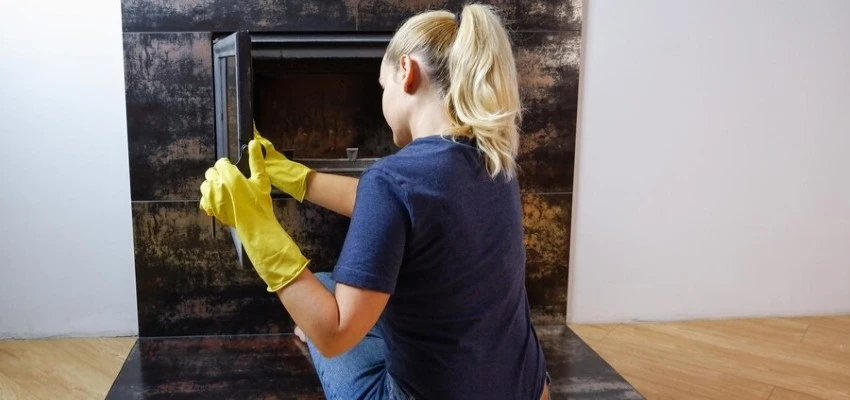
Logs lifted, embers reset: Gas Fireplace Cleaning near Vancouver
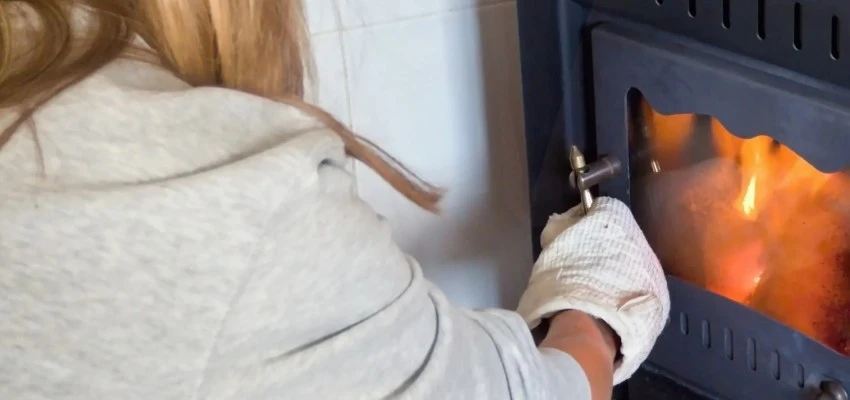
Fewer surprises mid-winter with Gas Fireplace Maintenance in Vancouver