
No pressure and no obligation: send your details and our team will put together an estimate for Chimney Flashing Services Vancouver
It is easy to think of a chimney as a fireplace accessory, but it is also part of the roof, the walls and the frame of the house. When one piece fails, water and heat can reach places they were never meant to go. For homeowners in Vancouver who typed “chimney flashing services” into a search bar, the answers on this page explain chimney flashing repair in everyday language, from the first warning signs to what happens once the work is done.

It depends on the damage, so the safe default is to hold off until someone has looked at it. Cosmetic problems on the outside, such as a stained brick face, rarely affect how a fireplace works. Damage inside the flue, a cracked liner, a damper stuck shut or a blocked vent is different, because smoke and hot gases may not leave the house the way they should. If you notice smoke spilling into the room, a strong smell or soot where there was none before, stop using the fireplace. Keep working carbon monoxide alarms on every level of the home either way.
A masonry chimney has more parts than most people realize, and each one can need repair on its own. From the top down, you will usually find:
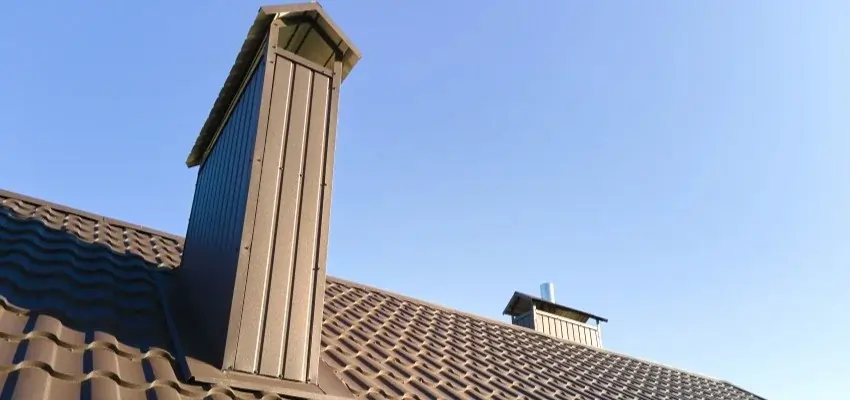
Inside the house sit the damper, the smoke chamber, the firebox and sometimes an ash dump. Factory-built chimneys swap the brick for a metal flue inside a framed chase with a metal cover on top.
The signs we trust most are darkened wood beside the chimney in the attic and lifted or caulk-covered metal where the chimney meets the roof. Flashing is a weak spot because it joins two things that move differently: a heavy masonry stack and a roof that shifts with the seasons. Done properly, it has two layers, step flashing woven in with the shingles and counter-flashing set into the mortar joints and folded down over it. Trouble starts when one layer is missing, when everything relies on caulk or when roofers reused tired metal during a reroof.
Yes, and that is why a careful diagnosis matters. Water stains beside a chimney can come from a cracked crown, a missing cap, porous brick, damaged shingles or roof vents nearby, ice dams in cold weather or even condensation in the attic. Flashing is a common culprit, but replacing it will not stop a leak that starts elsewhere. A technician can test areas one at a time and look at the attic side for the wettest spot. Anyone looking into “chimney flashing services” should ask how the company confirmed the flashing is the source before agreeing to replace it.
A cricket, also called a saddle, is a small peaked structure built on the uphill side of a chimney so rain and snow split and flow around it instead of piling up against the brick. It is framed, sheathed and covered with metal or roofing, then tied into the flashing. Wide chimneys and chimneys on low-slope roofs benefit most, because water and debris collect behind them. Signs that one is missing include leaves packed behind the chimney and leaks that appear on the uphill side. If you are comparing quotes for “chimney flashing services”, ask whether a cricket is included or recommended.
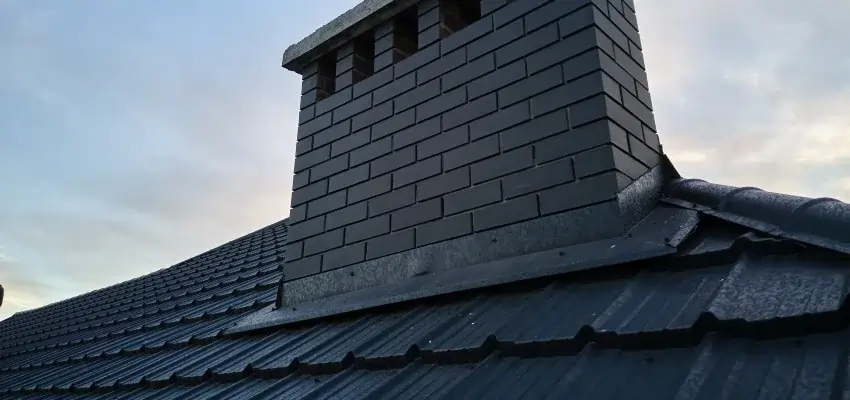
Chimney flashing is repaired by resealing it when the metal is still sound or by replacing it when it is rusted, bent or installed incorrectly. Resealing means cleaning out failed caulk and applying a new flexible sealant where the counter-flashing meets the brick. Replacement involves lifting the surrounding shingles, fitting new step flashing piece by piece, cutting a groove into a mortar joint for new counter-flashing and sealing it in. Wide chimneys may also get a cricket, a small peaked diverter on the uphill side that steers water around. Sealant alone is a short-term fix when the metal underneath has failed.
We run repairs in a set order: confirm, protect, fix, test, explain. Confirming means checking the chimney ourselves rather than relying only on the phone description, because the cause of a leak or a stuck part is not always where it seems. Protecting covers drop cloths inside and care around shrubs and shingles outside. The repair itself depends on the part involved. Testing might mean running water over new flashing, cycling a damper several times or checking draft with a little smoke. We finish by walking you through what we did and showing photos of areas you cannot see from the ground.
Labor, access and materials drive the price, roughly in that order. Labor depends on the size of the repair and whether it can be finished in one visit or needs curing time between stages. Access covers roof height, pitch and anything that makes ladder setup awkward, such as a deck or steep slope below the chimney. Materials range from a tube of sealant to a custom stainless chase cover or a full liner kit. We also leave room in the conversation for surprises, because opening a chimney sometimes reveals more. Our quotes list each part of the work separately, so you can see where the money goes.
Preparing for chimney repair mostly means clearing access inside and out. Stop using the fireplace or stove at least a day before so the firebox and flue are cool, and move decorations, screens, tools and furniture away from the hearth. Outside, move vehicles, patio furniture, planters and grills away from the side of the house where ladders will go, and unlock any gates. Let the company know about pets, an alarm system or anything fragile near the chimney. If the job involves the attic or basement, such as tracing a leak or emptying an ash pit, clear a path there too.
If you have never had this done before, it helps to know what to expect. We walk you through the visit, how long it usually takes and what you will see when we finish. Start with a quote and ask us anything along the way.
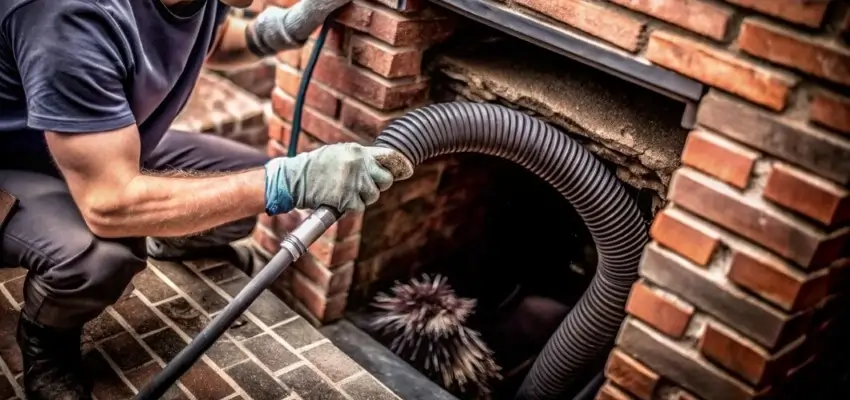
Flue last swept long ago? Chimney Cleaning in Vancouver
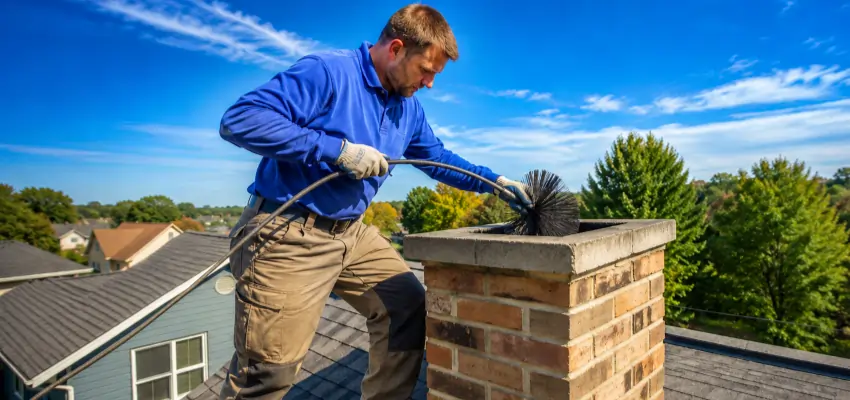
Your Vancouver fireplace, swept and checked: Chimney Sweep
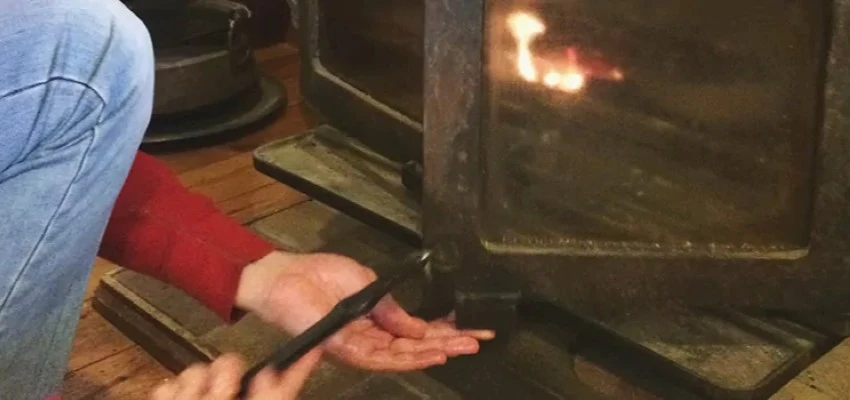
Chimney Sweep Services for fireplaces, stoves, and inserts in Vancouver
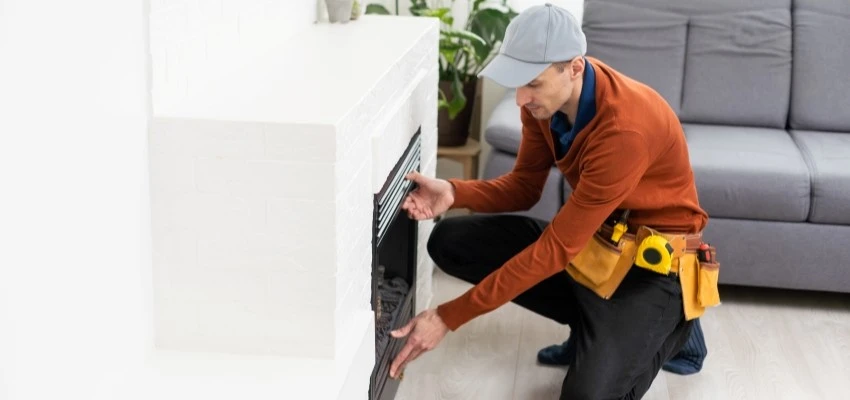
What Fireplace Experts check in your Vancouver chimney
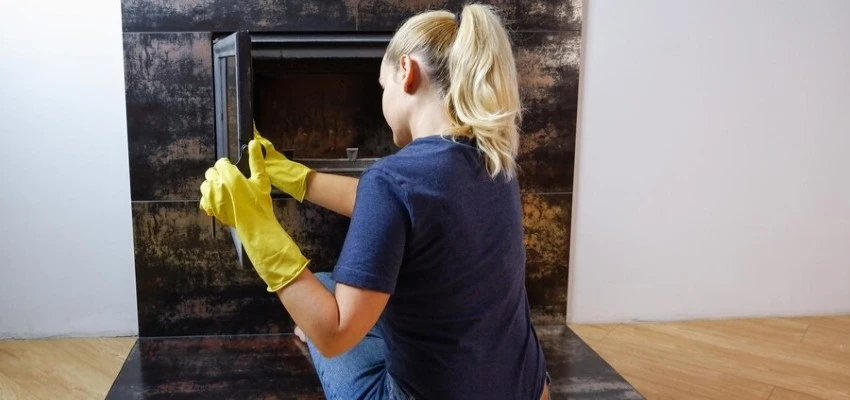
Logs lifted, embers reset: Gas Fireplace Cleaning near Vancouver
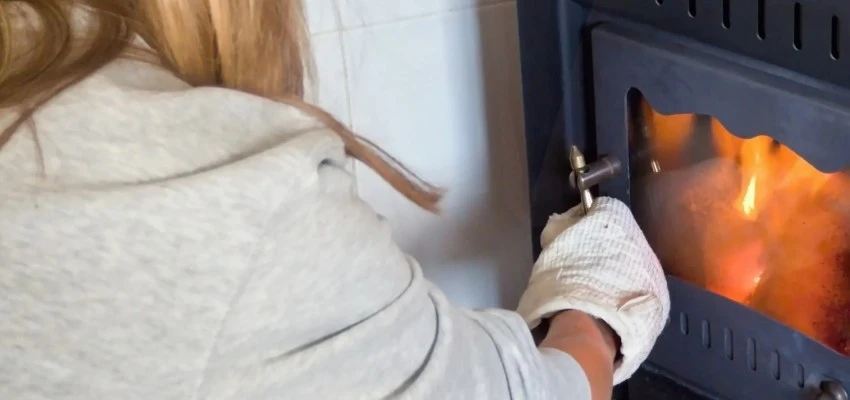
Fewer surprises mid-winter with Gas Fireplace Maintenance in Vancouver

